English
 Español
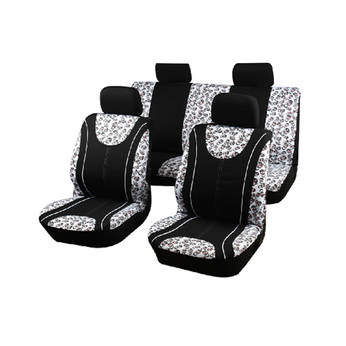
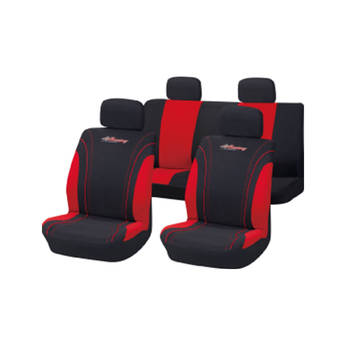
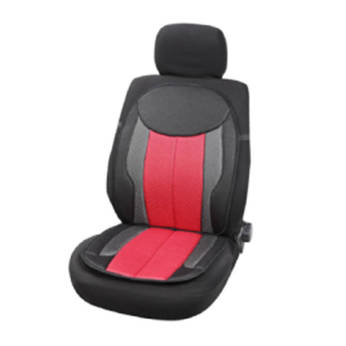
Seat covers are a practical and stylish addition to any car's interior. They not only protect your seats from wear and tear but also allow you to personalize your vehicle's look. Installing seat covers may seem like a daunting task, but with the right guidance and some patience, you can easily transform your car's seats.
Before you begin, make sure you have all the necessary materials:
Seat covers
Headrest covers (if included)
Plastic hooks or S-hooks (if required)
Zip ties (if required)
Screwdriver (if needed for removal)
Scissors
A towel or cloth for cleaning
A vacuum cleaner (optional)
Step 2: Remove Headrests (If Necessary)
Some seat covers require you to remove the headrests for a proper fit. Check the instructions provided with your seat covers to determine if this step is necessary. If so, use a screwdriver to remove the headrests carefully.
It's essential to start with clean seats to ensure a smooth installation and prevent any dirt or debris from getting trapped under the seat covers. Vacuum the seats to remove loose dirt and dust. You can also use a damp cloth to wipe down the seats and let them dry completely.
Lay out the seat covers flat and unfold them. Take note of any labels or tags indicating which cover is for the driver's seat and which one is for the passenger seat.
Most seat covers consist of two parts: one for the seat back and another for the seat bottom. Identify these parts by looking for labels or markings on the seat covers themselves or in the instructions provided.
Start with the seat bottom cover. Position it over the seat, aligning any straps or openings with the corresponding features on your car seats. Make sure the seat cover is centered and fits snugly.
Many seat covers come with straps that go under the seat to hold them in place. Secure these straps as tightly as possible to prevent any slipping or shifting of the seat cover.
Now, move on to the seat back cover. Slide it over the top of the seat, making sure it fits properly and aligns with any openings or features on the seat.
Some seat covers come with additional fasteners like plastic hooks or zip ties. Use these to secure the seat cover in place if they are provided. Follow the manufacturer's instructions for the specific type of fasteners used.
Take a moment to adjust the seat covers and smooth out any wrinkles or creases. Ensure that the seat covers fit snugly and uniformly over the seats.
If you removed the headrests in Step 2, carefully reinstall them now. Ensure they are securely in place.
Before finishing, test all seat controls, including adjustments, reclining, and any heated seat functions, to ensure they are not obstructed by the seat covers and that they work properly.
Step back and inspect your work. Make any necessary adjustments to ensure the seat covers are properly installed and look neat and tidy.
Congratulations! You've successfully installed seat covers in your car. Not only do they protect your seats from daily wear and tear, but they also add a personalized touch to your car's interior. Enjoy the enhanced comfort and style that your new seat covers provide as you hit the road in your refreshed vehicle.
.jpg?imageView2/2/w/346/format/jp2/q/70)